Twenty kilometers demands exact hydration. On a trail of that length, you spend between four and seven hours moving under load. Underestimating your fluid intake leads to cramping, reduced cognitive function, and early exhaustion, while overcarrying forces your knees and spine to haul dead weight. A standard 20-kilometer route is neither an afternoon stroll nor a full expedition, which makes it easy to misjudge. Carrying four extra liters adds four kilograms of sheer dead weight, while running out five kilometers before the trailhead turns a routine hike into a rescue situation.
Every hiker processes water differently based on metabolic output, sweat rate, ambient temperature, and vertical gain. The solution is not guessing. You must establish a baseline, calculate modifiers for terrain and weather, verify field water sources before leaving home, and carry the right filtration equipment. Use the mathematical and practical frameworks below to calibrate your reservoir for your next 20-kilometer itinerary.
Baseline Consumption Rates for Sustained Movement
Start with time, not distance. A fit hiker on flat, packed trail covers five kilometers per hour, finishing 20 kilometers in four hours. The same hiker on steep, rocky ground with 900 meters of elevation gain drops to three kilometers per hour, extending trail time to almost seven hours. Your baseline water volume must reflect your estimated duration on the trail rather than the flat distance.
Under neutral conditions (temperatures between 15 and 20 degrees Celsius, moderate humidity, and rolling terrain), the average human body loses between 450 and 750 milliliters of fluid per hour through perspiration and respiration. If you maintain an active pace with an eight-kilogram pack, plan for a baseline consumption of 500 milliliters per hour of movement. This baseline assumes you begin the hike fully hydrated.
Calculate your base volume using anticipated trail hours:
- Fast pace, flat terrain: 4 hours at 500 milliliters per hour equals 2.0 liters total.
- Moderate pace, mixed terrain: 5.5 hours at 500 milliliters per hour equals 2.75 liters total.
- Slow pace, steep technical terrain: 7 hours at 500 milliliters per hour equals 3.5 liters total.
These numbers cover physiological maintenance, not cooking or cleanup. If your 20-kilometer trek involves a midday dehydrated meal that requires boiling water, add 350 to 500 milliliters directly to your total carry volume.
Adjusting Volume for Temperature and Pack Weight
External heat and physical load force your cardiovascular system to work harder, triggering aggressive sweat production to cool the skin. When ambient temperatures rise above 24 degrees Celsius, your fluid loss can escalate to 1.2 liters per hour. Direct sun exposure on exposed ridges amplifies this rate further, even if the ambient air feels cool due to wind speed.
Pack weight alters metabolic demand directly. Carrying a pack that exceeds 15 percent of your body weight increases oxygen consumption and heat generation. For every additional three kilograms of gear beyond a light daypack, add 100 milliliters per hour to your consumption estimates. In cold conditions below five degrees Celsius, fluid loss remains substantial because dry winter air strips moisture from your lungs with every exhalation, often masking dehydration because you do not feel sweat on your skin.
| Trail Conditions | Hourly Fluid Target | Total for 5-Hour Hike | Electrolyte Requirement |
|---|---|---|---|
| Cool (10C to 18C), pack under 7 kg | 450 to 550 ml | 2.25 to 2.75 liters | Low: Dietary salt in snacks is sufficient |
| Warm (19C to 27C), pack 8 to 12 kg | 600 to 800 ml | 3.0 to 4.0 liters | Moderate: 200 to 400 mg sodium per liter |
| Hot (above 28C), direct sun exposure | 850 to 1200 ml | 4.25 to 6.0 liters | High: 500 to 700 mg sodium per liter |
| Freezing (below 0C), heavy clothing layers | 400 to 600 ml | 2.0 to 3.0 liters | Low to moderate: Warm fluids preferred |
Do not replace heavy sweat losses with plain water alone. Diluting your bloodstream without replenishing sodium creates hyponatremia, a dangerous condition causing dizziness, nausea, and confusion. If your hike requires more than three liters of fluid, incorporate electrolyte powders or high-sodium trail food to balance your intake. Anyone with cardiovascular conditions or kidney issues should consult a physician regarding specific sodium and fluid targets.
Identifying Reliable Natural Water Checkpoints
Carrying five liters of water out of the trailhead adds five kilograms of dead weight to your back. The more practical tactic for a 20-kilometer route is carrying enough water to reach verified natural water sources, then filtering on site. This requires objective map evaluation and recent route recon before you leave your home.
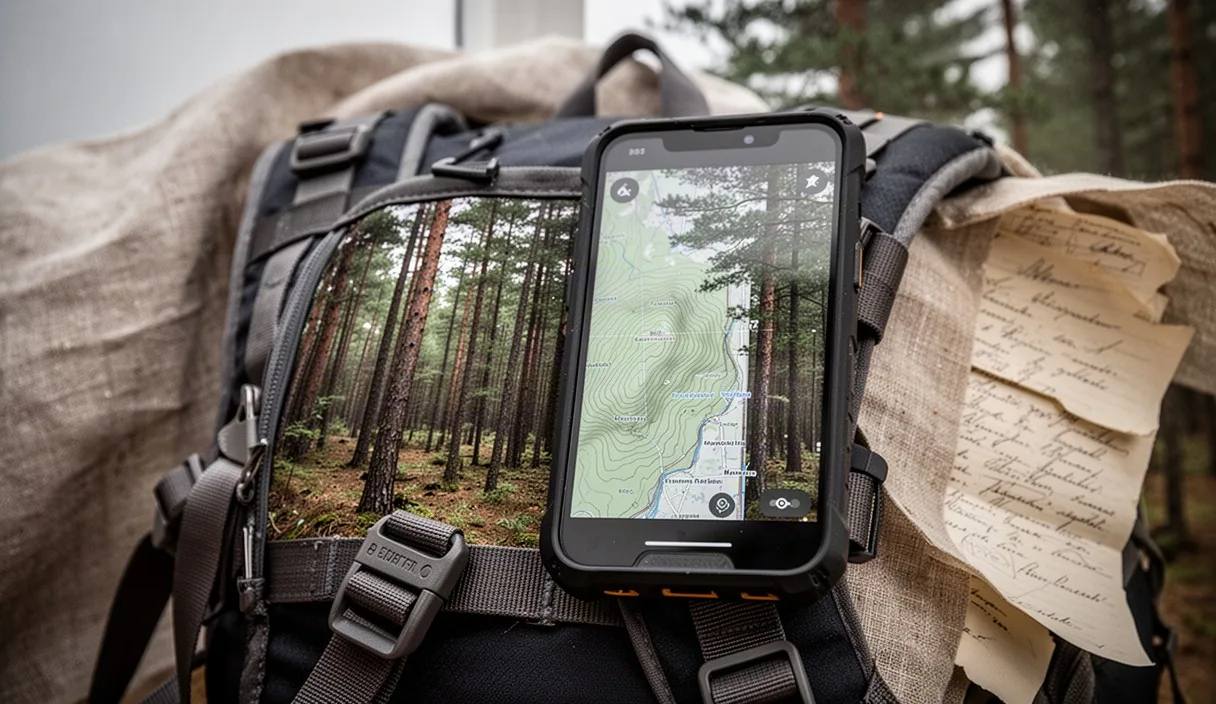
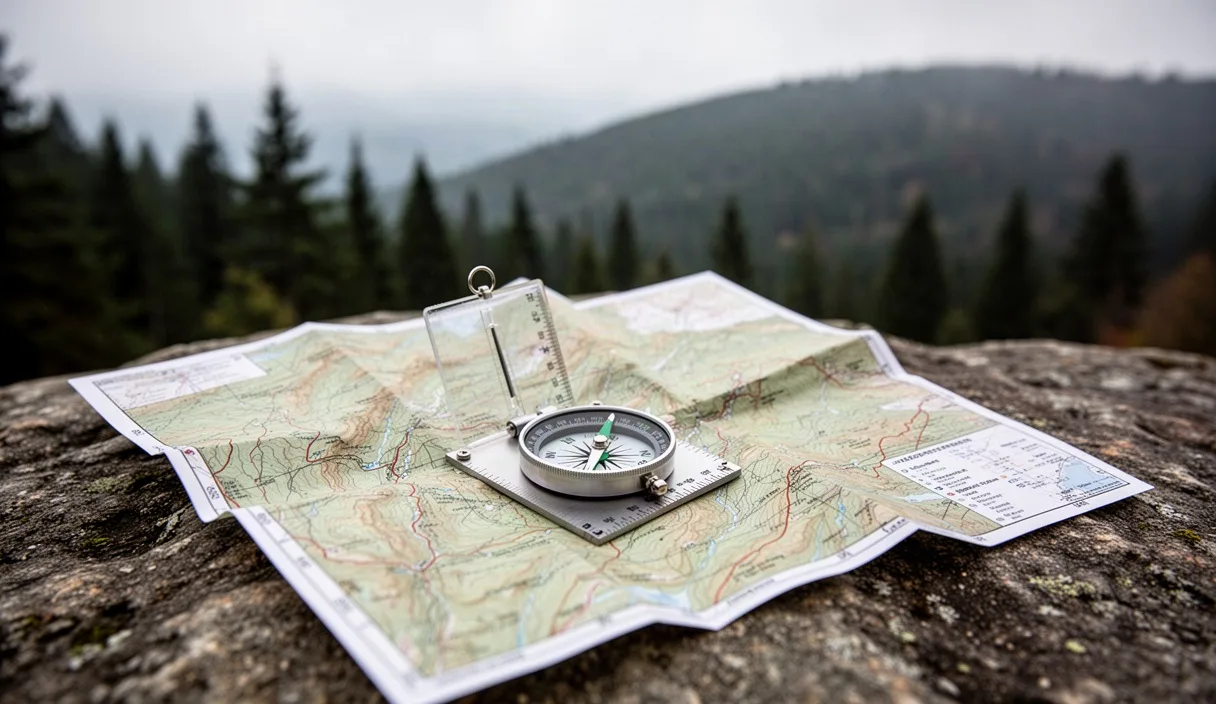
Topographic maps mark water in blue, but those markings do not guarantee water on the ground. Intermittent streams appear as dashed blue lines, indicating they run only during spring snowmelt or after heavy rain storms. Perennial streams appear as solid blue lines, but prolonged seasonal droughts dry up small perennial creeks by late summer. Never base your water plan on an unverified blue line.
Apply these steps to confirm your refill points before stepping onto the trail:
- Check ranger district reports: Call the local land management agency or ranger station within 48 hours of your departure to ask about specific creek flows and spring outputs.
- Read recent trail logs: Review crowd-sourced trail condition apps, sorting specifically for updates logged within the past seven days that mention water availability.
- Locate headwaters and springs: Choose springs near their emergence point over slow-moving downstream pools. Higher sources present lower agricultural and animal contamination risks.
- Establish turnaround benchmarks: Mark the last guaranteed water source on your map. If that source is dry when you arrive, stop and evaluate whether you have enough reserve to turn back safely.
Avoid water adjacent to active pastureland, mining runoff, or industrial zones. Agricultural contaminants, heavy metals, and pesticides cannot be removed by standard portable wilderness filters or chemical drops.
Chemical Treatment vs Hollow-Fiber Membrane Filters
Untreated surface water carries bacteria like Escherichia coli, protozoan digestive balance like Giardia lamblia and Cryptosporidium parvum, and occasional viral threats. Drinking straight from a pristine-looking mountain stream remains a significant wilderness health risk. For a 20-kilometer trek, your purification method must be light, durable, and suited to the water clarity you expect to encounter.
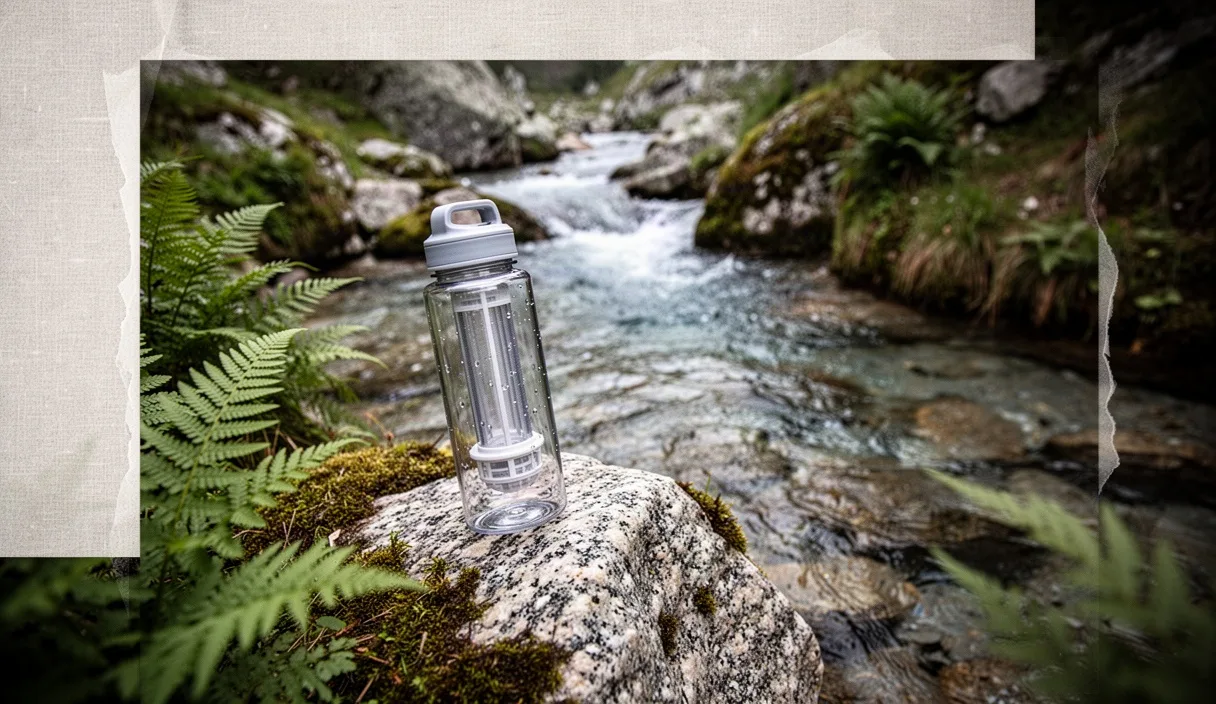
Hollow-fiber membrane filters, such as the Sawyer Squeeze or Katadyn BeFree, use micro-tubes with 0.1 or 0.2-micron pores to physically block bacteria and protozoa. They operate instantly without chemical wait times, allowing you to drink directly from the source or squeeze clean water into your bottles. Their primary weakness is physical freezing: if wet hollow fibers freeze, the water inside expands, breaks the internal tubes, and renders the unit useless without visible external damage.
Chemical treatments rely on chlorine dioxide or sodium dichloroisocyanurate tablets. Chlorine dioxide kills bacteria, viruses, and Giardia quickly, but requires up to four hours of contact time to penetrate the thick outer shell of Cryptosporidium oocysts. Chemical options weigh almost nothing and cannot freeze, making them the ultimate backup system.
| Feature | Hollow-Fiber Filter (e.g., 0.1 Micron) | Chlorine Dioxide Tablets |
|---|---|---|
| Wait time for bacteria | Zero (instant flow) | 15 to 30 minutes |
| Wait time for Cryptosporidium | Zero (instant physical removal) | Up to 240 minutes |
| Performance in turbid or silty water | Clogs rapidly; requires backflushing | Functions well; pre-straining suggested |
| Susceptibility to cold | Destroyed if internal water freezes | Immune to sub-zero storage |
| Weight penalty | 60 to 90 grams with accessories | 10 to 25 grams for a complete strip |
For most 20-kilometer itineraries, the ideal strategy combines both systems. Pack a hollow-fiber filter in your shoulder pocket for fast access at running streams, and tuck four chlorine dioxide tablets into your first aid kit as an emergency fallback if your primary filter cracks, drops down a talus slope, or clogs with glacial silt.
Emergency Rationing Protocols for Dry Camps
If you miss a waypoint, discover that your planned water source has run dry, or become delayed until nightfall, you may have to establish an unplanned dry camp. Managing a severely limited water supply requires discipline and an understanding of human thermoregulation.
The cardinal rule of desert and wilderness survival is clear: do not ration water in your bottle at the expense of your body. Hikers have died of severe heat illness with water still sloshing in their packs. If you are thirsty, drink. Your body utilizes water far more efficiently when it circulates through your vascular system, cooling your organs and maintaining blood pressure, than when it sits warm in a plastic bladder.
Conserve fluid by modifying your behavior rather than dehydrating yourself voluntarily:
- Cease high-exertion movement during peak heat: Pitch a tarp, rest in the shade, and wait for lower evening temperatures before walking out the remaining distance.
- Stop eating dry, high-protein foods: Digesting protein requires substantial amounts of metabolic water. Switch to carbohydrate-based rations, or stop eating entirely if fluid is critically low.
- Breathe strictly through your nose: Nasal breathing humidifies air on intake and recaptures moisture on exhalation, preserving oral hydration and lowering respiratory water loss.
- Keep your clothing on: Direct solar radiation striking exposed skin rapidly increases your sweating rate. Loose, lightweight long sleeves shield skin from radiant heat and slow down sweat evaporation.
Do not consume urine, alcohol, or salty surface pools. These substances draw water out of your cells to process high concentrations of urea and dissolved mineral salts, driving you deeper into physiological deficit.
Common Mistakes
The most frequent error on 20-kilometer routes is front-loading hydration without an on-trail plan. Chugging a liter of water in the parking lot stimulates your kidneys, causing you to urinate out the majority of that volume within the first 45 minutes of movement. Drink steadily throughout the preceding 24 hours instead, maintaining a pale straw urine color before you begin.
Another routine mistake is assuming a bladder tube will always deliver water. Bladders hidden deep within your pack make it difficult to monitor your remaining volume. Many hikers reach kilometer 14 only to suck air, having miscalculated their consumption rate because the reservoir was out of sight. Keep your primary water in marked wide-mouth bottles or check your internal reservoir volume at every rest stop.
Hikers also neglect filter maintenance before heading out. A hollow-fiber filter that dried out while containing mineral deposits can exhibit a flow rate cut down to a trickle. Always test your filter in your home sink the evening before your trip to confirm that the flow rate is normal and that gaskets are seated properly.
Prepare Your System for the Trail
Take direct action before your next 20-kilometer trail day. Open your topographic map right now and measure the distance between verified perennial water checkpoints. Calculate your expected moving pace based on the elevation profile, and write down your target consumption for every two-hour block of trail time.
Inspect your filtration gear. Flush your hollow-fiber cartridge with clean tap water to clear old debris, inspect the rubber O-rings for cracking, and replenish the chemical treatment tablets in your repair kit. Check local trail forums or call the area rangers to get real-time stream status. Knowing your numbers and verifying your sources keeps your pack weight low, your pace steady, and your kidneys functioning safely across all twenty kilometers.