Dispersed camping demands direct accountability. When you pitch a shelter outside established campgrounds on public lands, no maintenance crew cleans up after your stay. Every impact rests on your field decisions, from where you crush vegetation to how you process bodily waste. The seven principles of Leave No Trace provide the baseline framework, but executing them in rough terrain requires field mechanics, distinct spatial measurements, and strict gear discipline.
Federal land managers across the Bureau of Land Management (BLM) and United States Forest Service (USFS) oversee millions of acres open to primitive roadside and backcountry camping. These areas lack pit toilets, trash dumpsters, and treated water pumps. Operating here without degrading soil ecology, polluting watersheds, or acclimating wildlife to human food requires adherence to physical protocols rather than vague environmental intentions.
Identifying Durable Surfaces for Shelter Placement
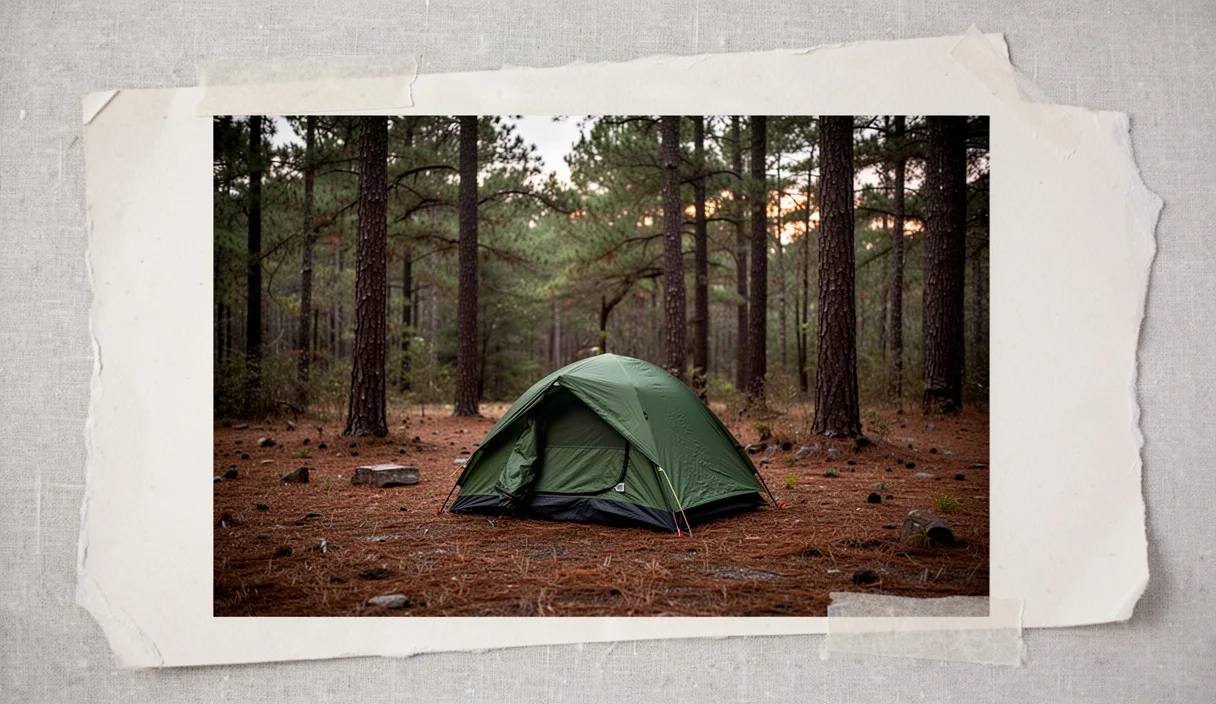
Pitch shelters on hard ground. Setting a tent on fragile plant communities strips root systems, accelerates topsoil erosion, and creates permanent barren patches. Established dispersed sites, recognizable by clear dirt footprints free of living vegetation, offer the most practical ground. If selecting a pristine site where no prior use exists, seek out rock slabs, compacted gravel bars, dry sandy washes, or hardened mineral soils.
Stay 200 feet away from lakes, rivers, and active streams. In field conditions, calculate this distance as roughly 70 to 80 full paces for an average adult. This buffer prevents shoreline trampling, allows wildlife unhindered access to water, and minimizes greywater runoff into riparian zones. Avoid camping directly on high alpine turf or biological soil crusts. In arid regions, biological soil crusts, often termed cryptobiotic soil, bind loose sand together and take between 20 and 250 years to regenerate once crushed underfoot.
| Surface Type | Resistance to Foot Traffic | Erosion Risk | Recommended Setup Protocol |
|---|---|---|---|
| Granite or Sandstone Bedrock | High | Low | Use freestanding tents or rock-secured guyline anchors. |
| Compacted Gravel Bar | High | Moderate | Check seasonal flash flood risks before driving heavy stakes. |
| Dry Forest Needle Floor | Moderate | Moderate | Clear loose surface duff down to mineral soil under stoves only. |
| Alpine Meadows and Forbs | Low | High | Never pitch here; disperse traffic to prevent social trail creation. |
| Biological Desert Crust | Extremely Low | Severe | Keep clear; walk strictly in single file inside dry, sandy washes. |
Spread site impact when traveling in small groups through untracked wilderness. Break down camp each morning, rotate tent pads if staying more than two nights, and avoid walking along identical linear routes between sleeping quarters, cooking zones, and waste areas. When using an already impacted dispersed vehicle pull-off, confine all vehicles, sleeping platforms, and camp chairs strictly inside the previously barren footprint to avoid widening the perimeter.
Proper Cathole Digging and Pack-Out Sanitation Rules
Human waste carries pathogens like Giardia lamblia, Cryptosporidium, and enteroviruses that survive in soils and contaminate ground aquifers. Dig every cathole 6 to 8 inches deep in mineral soil. In arid desert zones where moisture and soil microbes are restricted to the hot upper layer, dig shallower, between 4 and 6 inches deep, to expose waste to active solar heating and biological decomposition. Ensure the hole sits at least 200 feet away from trails, surface water, and any campsite boundary.
Pack a dedicated hand trowel made of aluminum or polycarbonate rather than relying on shoe heels or sticks, which produce shallow, inadequate scrapes. Choose cathole locations situated in rich, dark soil on elevated slopes that catch direct morning sunlight, avoiding low-lying drainage draws that channel rainfall. Once waste is deposited, use a stick to mix it with native mineral dirt to accelerate bacterial breakdown before backfilling the hole to grade with the original soil plug. Tamp it down lightly and drop a rock or branch on top to prevent animals from digging up the site.
- Toilet Paper Protocol: Pack out all used toilet paper in a heavy-duty, double-layered zip-top bag lined with aluminum foil or baking soda to obscure view and neutralize odor. In extremely wet or snowy environments, never bury paper; burial delays decomposition by seasons.
- Sanitary Products: Tampons, pads, and wet wipes contain synthetic non-biodegradable plastics and must always be packed out. Never bury them in catholes and never attempt to burn them in campfires.
- Specialized Waste Zones: In fragile alpine zones above tree line, narrow river canyons, and high-use desert corridors, land agencies require full pack-out of all human waste. Carry commercially prepared solid-waste collection kits (often sold as WAG bags) containing gelling powder and heavy puncture-resistant outer seals.
Wash your body and clean cooking gear using an isolated wash station set up 200 feet from open water sources. Collect water in a collapsible bucket or hydration bladder and carry it away from the bank to do the cleaning. Use unscented, biodegradable camp soap in drop quantities. Biodegradable soaps do not degrade inside waterways; they require contact with soil microbes to neutralize. Strain dishwater through a mesh sink strainer or bandanna to capture solid food particles, pack those scraps out with trash, and scatter the remaining greywater in a wide arc across dry, sunny earth.
Campfire Safety: Mound Fires and Total Pit Eradication
Rely on a compact gas canister or liquid-fuel backpacking stove as your primary cooking heat. Dispersed campfires scar rocks, introduce unnatural charcoal layers into native soil, consume woody shelter needed by small reptiles, and introduce significant wildfire hazards. Check fire danger ratings and stage-level restrictions with the local Ranger District office before departing. During high fire risk periods, open wood fires are legally banned across most federal acreage.
If campfires are permitted and conditions allow, utilize an existing stone fire ring rather than assembling a new one. In pristine backcountry pockets without existing rings, construct a mineral soil mound fire to prevent ground scorch. Lay a heavy-duty tarp or groundsheet down, shovel 3 to 5 inches of loose mineral sand or non-organic gravel on top of the tarp, and build your small fire on that raised earthen bed. The mineral soil acts as a thermal barrier, protecting the groundsheet and the soil beneath from heat damage.
- Collect only dead, down, and detached wood. Never break branches off standing living trees or harvest dead boughs from standing snags, which provide nesting cavities for birds.
- Select fuel wood that matches or stays under the thickness of an adult wrist. Smaller wood burns down completely to white ash, preventing half-charred logs from cluttering the site.
- Burn the fire down to fine grey ash before starting cleanup. Never abandon a smoldering fire to go on a day hike or sleep for the night.
- Drown the pit thoroughly with water. Douse the ashes, stir them with a stick or trowel, saturate the ground underneath, and test the slurry with the back of your bare hand. If it radiates warmth, dump more water and stir again until it is ice cold.
Eradicate temporary pits completely. When extinguishing an existing site ring, dismantle newly stacked rocks and scatter them with the charred sides facing downward against the earth. Pick out unburned debris, bottle caps, or tinfoil bits left behind by previous campers. Scatter the thoroughly cooled, pulverized ash widely over a broad radius through non-vegetated brush to disperse nutrients without suffocating a single patch of plants.
Food Storage Tactics to Protect Camp from Rodents and Predators
Dispersed campers face threats to their supplies from both apex predators and small rodents. Habituation occurs when wildlife gains access to human food, toiletries, or trash. Once an animal correlates human presence with high-calorie meals, its natural foraging behaviors degrade, often leading to site closures or agency lethal management actions. Never store food, cooking gear, or waste inside your sleeping tent.
Store all attractants inside an Interagency Grizzly Bear Committee (IGBC) approved hard-sided bear canister or an approved aramid-fiber fabric bag equipped with an internal aluminum barrier liner. Attractants encompass more than basic food rations. The storage unit must hold all items containing scents: toothpaste, lip balm, insect repellent, sunscreen, hand sanitizer, personal medications, and the day's trash bag. Position the canister on the ground 100 paces (roughly 250 to 300 feet) downwind of your tent, tucked among brush or rocks on level ground where it cannot roll down an embankment or into a creek if inspected by an animal.
| Storage Method | Effective Target Wildlife | Operational Limits | Best Terrain Application |
|---|---|---|---|
| Hard-Sided Canister | Bears, Rodents, Canids | Fixed volume, heavy pack weight | Mandatory in alpine and subalpine rocky zones above tree line |
| Kevlar / Aramid Sack | Bears, Rodents | Requires proper cord cinch and secure trunk tie-off | Dense subalpine forest zones with sturdy tree anchor points |
| Counterbalance Hang | Black Bears | Ineffective against rodents; needs specific tree branch shape | Deciduous low-elevation forests with strong, 20-foot tall limbs |
| Vehicle Cab Lockbox | Small Mammals, Birds | Vulnerable to bear break-ins if windows or seals fail | Dispersed front-country roadside trailheads outside bear territory |
Where bear canisters are not legally mandated and suitable trees exist, execute the counterbalance hang method. Find a live horizontal tree branch 20 feet off the ground that extends at least 8 to 10 feet out from the main trunk. Divide your food into two equal sacks weighing roughly 10 to 15 pounds each. Using a 50-foot length of 3-millimeter utility cord, toss the weighted end over the branch, haul the first sack up to the branch level, tie the second bag on as high as you can reach, tuck the extra cord into the bag, and hoist the entire system up with a stick so that both bags hang level, suspended at least 12 feet above the ground, 6 feet away from the tree trunk, and 6 feet below the supporting limb.
Final Sweep Procedures Before Leaving Trail Sites
Run a disciplined sweep across your footprint before hiking out or driving down the forest service road. Human eyes scan at eye level, missing micro-trash dropped on the dirt. Break your camp down completely, pack all equipment into your vehicle or rucksack, and set your gear aside in a staging zone on the road or trail edge.
Execute an overlapping grid search over the entire living area. Walk parallel lines spaced three feet apart across the kitchen zone, the tent footprints, the parking perimeter, and the path to the waste area. Scan specifically for micro-debris: twist ties, plastic bread tags, foil corners torn from energy bar packets, dropped matchsticks, and loose nylon cord. Pick up small debris regardless of whether your party dropped it or a prior camper left it behind.
Naturalize the campsite surface after clearing all physical trash. Fluff flattened grasses using a branch to restore compressed ground. If your vehicle tires left ruts in loose soil, smooth the ridges down with your boots or trowel to prevent water from collecting and creating erosion gullies during the next storm. Scatter dry native leaves, pine needles, or fallen branches across the cleared tent pad to break up unnatural geometric footprints and return the site to an unworked, natural state.
Common Mistakes
- Pitching Too Close to Water: Campers setup within 30 feet of river banks for convenient cooking access, inadvertently cutting off animal trail networks and degrading sensitive riverbank grasses. Keep back the full 200 feet.
- Burying Synthetic Trash: Burying food packaging, wet wipes, or sanitary pads in catholes. Scavenging animals easily smell the buried food residues, dig up the site, and scatter plastic rubbish across the wilderness.
- Improper Greywater Disposal: Emptying greasy dishwater directly into alpine pools or within a few yards of camp. This attracts rodents to your tent pad and introduces bacterial colonies into pristine water systems.
- Building Excessive Fire Rings: Constructing new stone circles every few feet inside a clearing. Use only one centralized existing ring, or build a clean, trace-free mound fire on non-combustible material.
- Burning Incomplete Refuse: Tossing aluminum foil, plastic-lined wrappers, or tin cans into a campfire under the assumption that heat destroys them. Campfires rarely burn hot enough to consume aluminum, leaving melted foil and toxins bonded to the forest floor.
Next Steps for Field Preparation
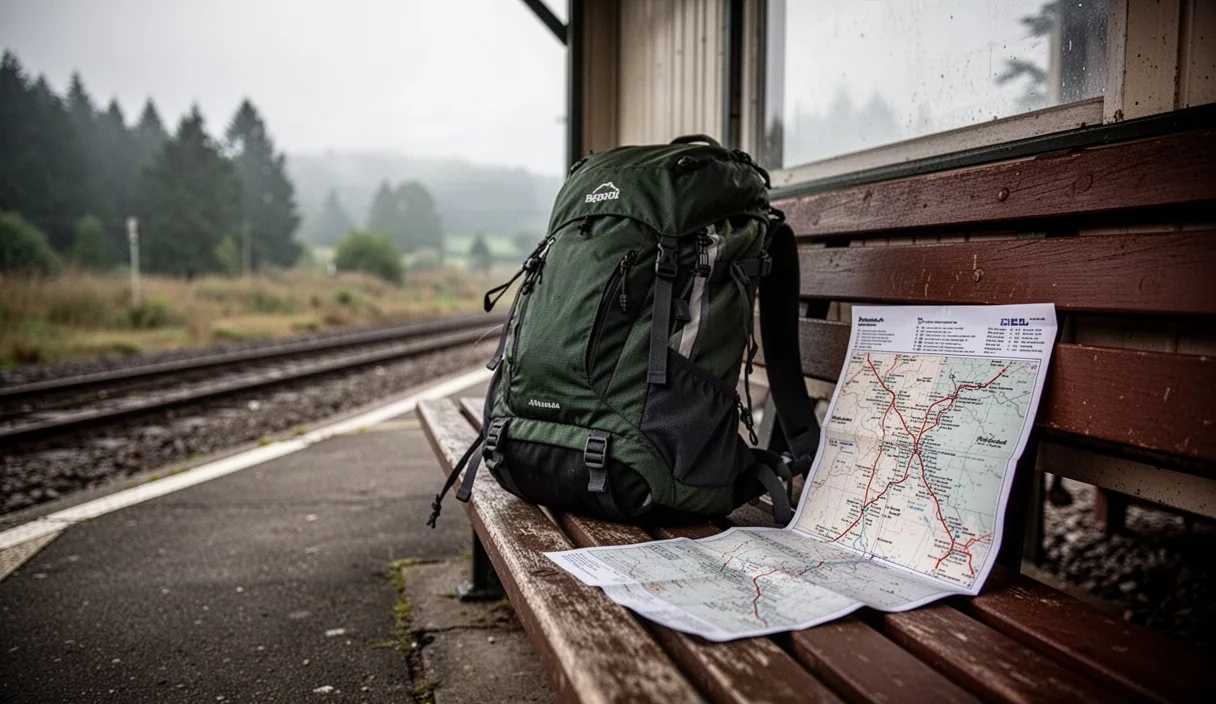
Plan your operational sanitation before packing your sleeping bag. Pull out your route maps and verify land management boundaries to confirm whether your target route falls inside USFS land, BLM parcels, or state wildlife trusts, as regulations on campfires and human waste systems vary significantly across agency borders. Call the local field office or ranger station to confirm current fire restrictions and wildlife alert levels for the current week.
Audit your field kit for the required Leave No Trace gear. Verify that your hand trowel is metal or rigid composite, your dry bags for waste pack-out are fully stocked, your food storage container carries certification from the IGBC, and your stove functions cleanly without wood fuel. For detailed regulatory updates or regional pack-out mandates, consult directly with the designated public lands agency overseeing your specific destination.